
How to Add Labels to your 3 Tiered Rolling Storage Cart

Have you seen all the fantastic ways a simple tiered organizer cart can improve your home, work, school and craft life! Just a simple search for organizer cart can pull up endless uses and cute ideas for these extremely versatile items. Still don't know how you could use one? Take a quick look at this list of 45 ways to use the IKEA version of the cart to get started.
Don't worry if you can't get to an IKEA store, you can find many similar carts at stores like Michael's, Target, Overstock, World Market, The Container Store and Amazon.

How to get started
1. Grab your cart.
2. Find some baskets, small containers or boxes. Decide what needs to be contained in each level of your cart and find a suitable container for those items. Think magazine holders for papers and books, boxes for small items and jars for crafts. The Dollar Store is an excellent place to find inexpensive containers.
3. Add Labels!
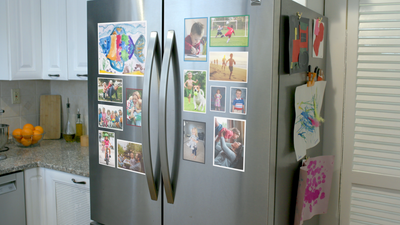
The 2.5x3.5 magnetic Photo Pockets are perfectly sized for most carts.

Customize your labels to suit your style.
- Handwrite your labels with dry erase pens.
- Print your labels and insert into the photo pocket frames.
- Use colored paper for even more fun.

Magtech's magnetic photo pockets can be used on any metal surface! Use them to label your filing cabinets or metal cabinets and tool boxes. Have an extra freezer for food storage? Use the 8x11 multi-use magnetic photo pocket for tracking inventory or labeling food placement in your freezer. Our photo pockets are great for protecting and displaying your photographs but can also be used as label holders. Buy some for yourself and get organizing today!